Homemade Emergency Rations

Homemade Emergency Rations the Easy Way
What would you do if an emergency situation left you without access to food? While it is always best to have a plan for this sort of thing, not everyone is able to stock up on supplies or has the money to do so. This is where homemade emergency rations come in. By making your own rations, you can be sure that you will have something to eat no matter what happens. In this blog post, we will show you how to make your own emergency rations using common ingredients that you probably already have in your kitchen. So read on, and be prepared!
Homemade Emergency Rations Recipe
You can make your own emergency rations with a 5-year shelf life right at home! There are a lot of different recipes for emergency rations, and this one is one of our favorites because it is quick, simple, and most likely you already have everything in your home to make this recipe.
This recipe makes just under 4 lbs. with 8600+ total calories. Makes approx. (21) 400 calories bars, or any combo you choose depending on the size of the bars.
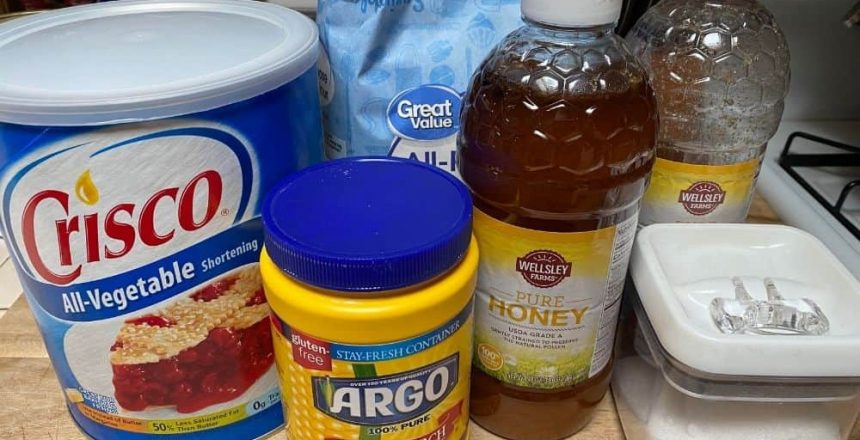
Ingredients needed:
- White Sugar – 2 cups
- Cornstarch – 1 cup
- Honey – 1 cup
- All-purpose Flour – 4 cups
- Vegetable Shortening – 2 cups
- Vanilla Extract – 4 tbsp.
Instructions:
- Preheat the oven to 350 degrees, this way it is ready once you mix all the ingredients together
- Mix all of the ingredients together into a dough, then spread it out flat on a large cookie sheet. You’re going to want to flatten out the dough to be approx. ¾” to 1” thick
- The ingredients are a high fat content, so you should not need to grease the pan
- Bake for 25 min. at 350 degrees
- Once it’s done, let it sit until it has a hard consistency (a little harder than a pie crust), and be sure it’s cooled off
- Cut into similar sized squares, this way all of your emergency rations will have roughly the same amount of calories, you want and vacuum seal them either individually, or all together
- You do not need to refrigerate these rations once they are vacuum sealed
- You should take the time to write the date on each vacuum sealed package. This way you can keep up with how long they have sat and that they are still safe to eat
Tips:
- Melt the shortening and heat up the honey beforehand to make it easier to mix and handle the dough
- Considering adding pink Himalayan sea salt in these homemade emergency rations
- Consult your doctor first if you have any medical issues, such as diabetes
In Conclusion
Preparing for the worst is always a good idea. In an emergency situation, it can be hard to find calorie dense food that will last long enough to get you through all of your hardships and provide you with energy. That’s why we recommend having homemade emergency rations in your pantry at home.
They have a 5 year shelf life so they won’t spoil if you don’t use them right away and they contain ingredients that are calorie dense so use them sparingly. Don’t wait until disaster strikes before taking time to prepare- take some time now to start building up your stockpile!
Read more of our Blogs HERE to learn more survival tips and tricks. The worst time to start preparing for a survival situation is once you are in it. Our past blogs will teach you a number of skills needed to survive in various situations.
Check out our new Tiktok page and like our videos!


